# App Settings
# App Settings
# Site Name
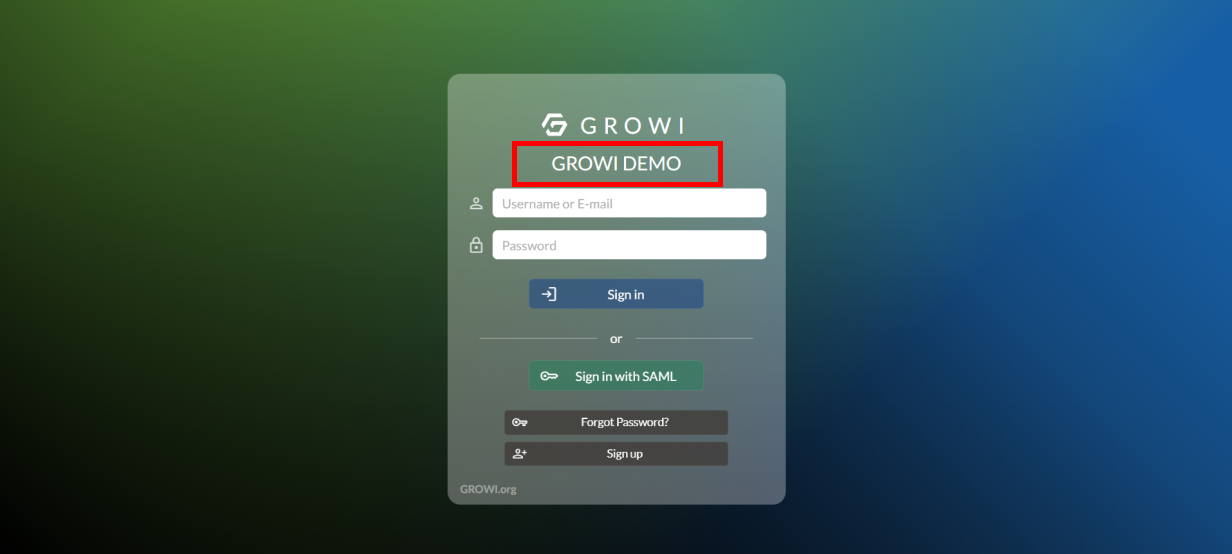
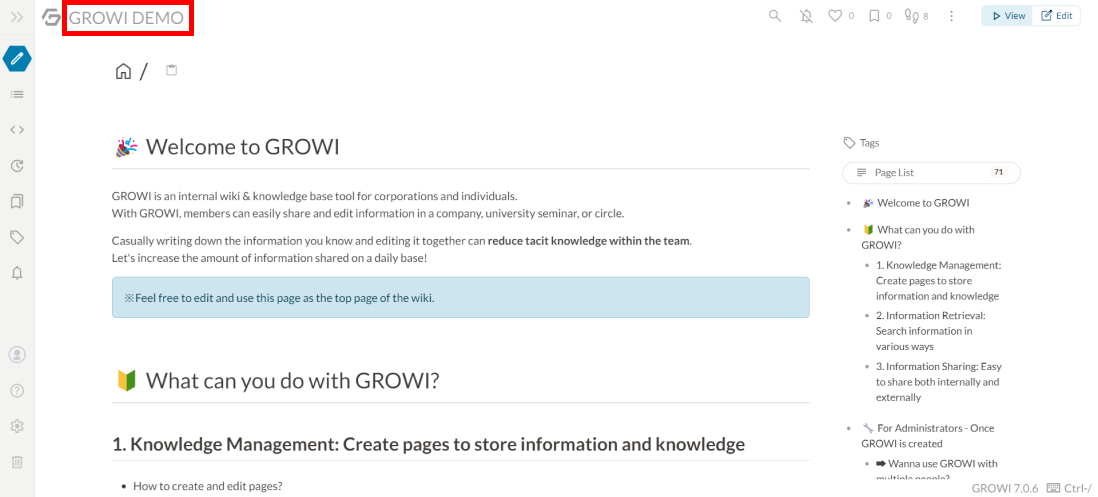
If the site name is set, it is displayed on the login screen and the title of GROWI.
# Confidential Name
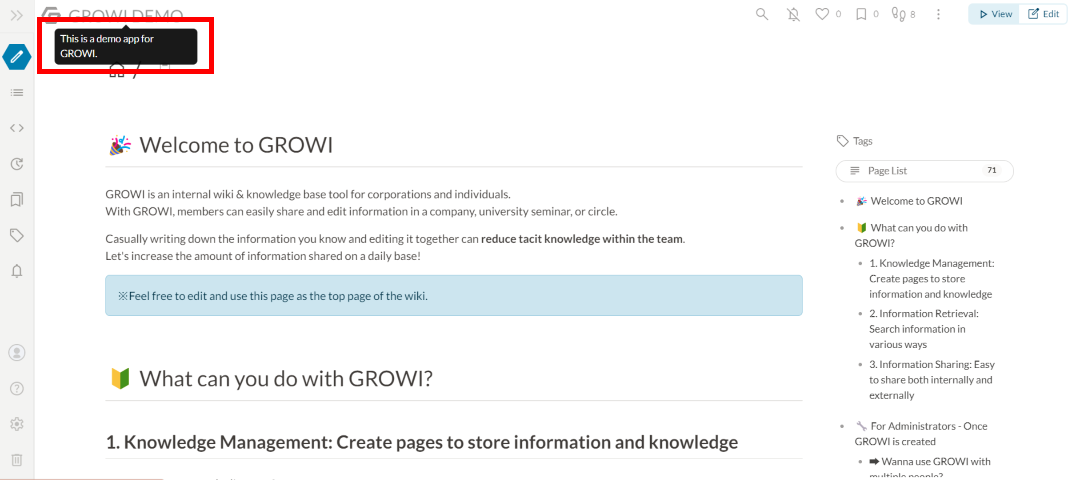
The contents written in the confidential display field will be displayed when the cursor is placed on the GROWI title.
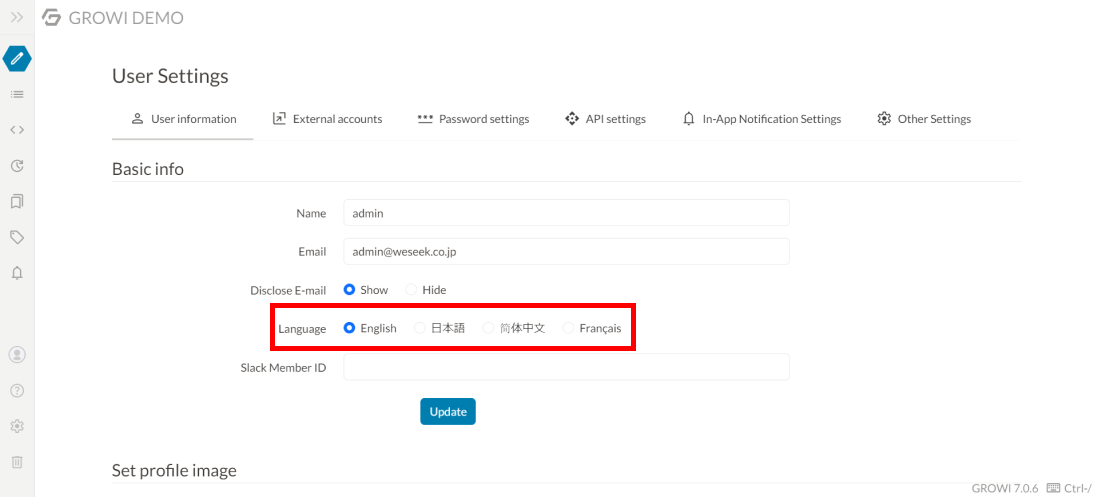
# Default language setting for new users
In this field, the user can select English, Japanese, or Chinese.
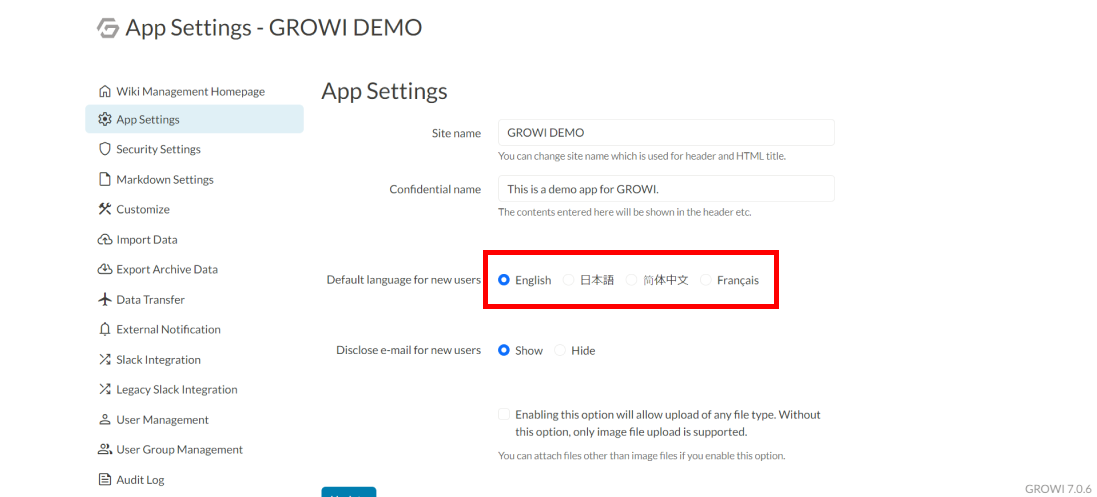
The above setting changes the default language when creating a new user in GROWI.
# File Uploading
GROWI has a setting that allows uploading of files other than images to a page.
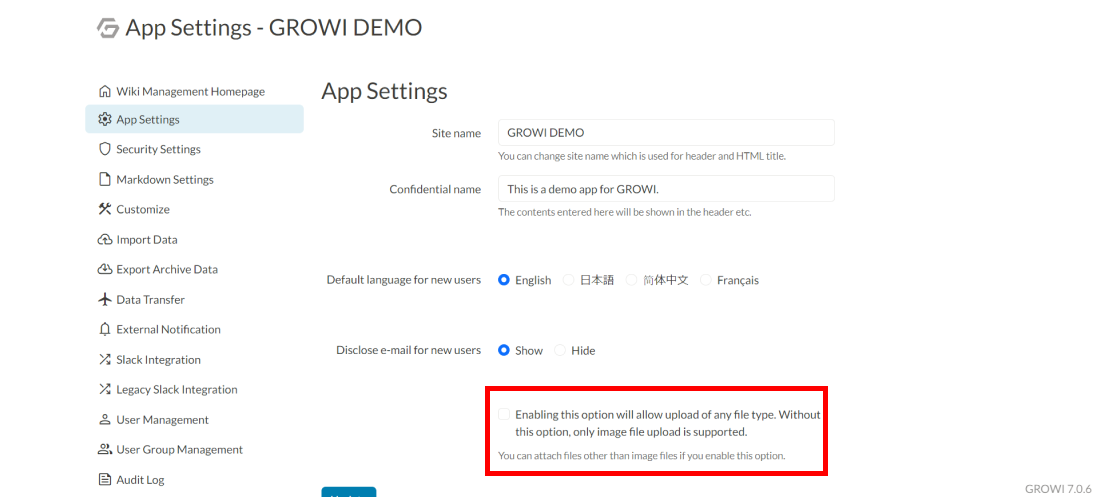
If this option is unchecked, users will not be able to upload non-image files when editing the wiki page.
The File Uploading settings will enable users to upload files.
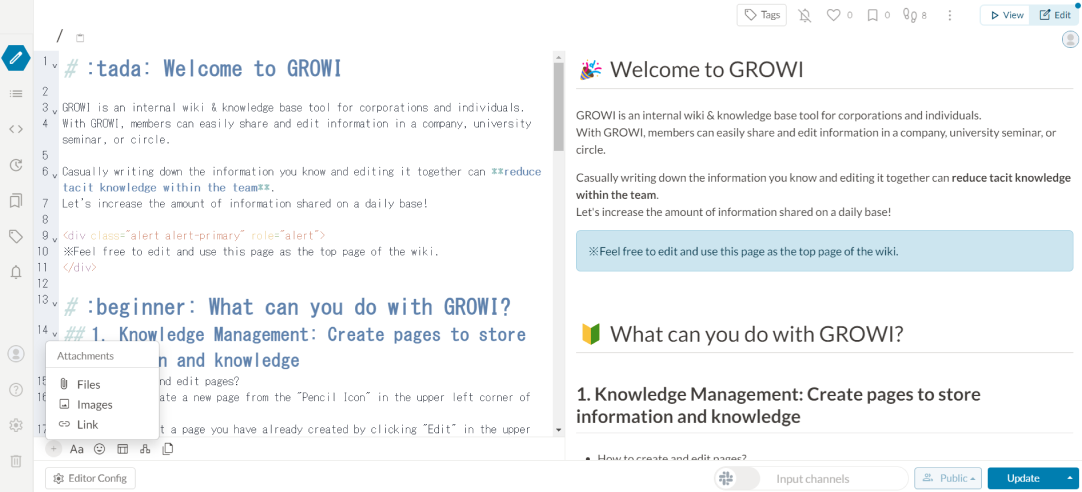
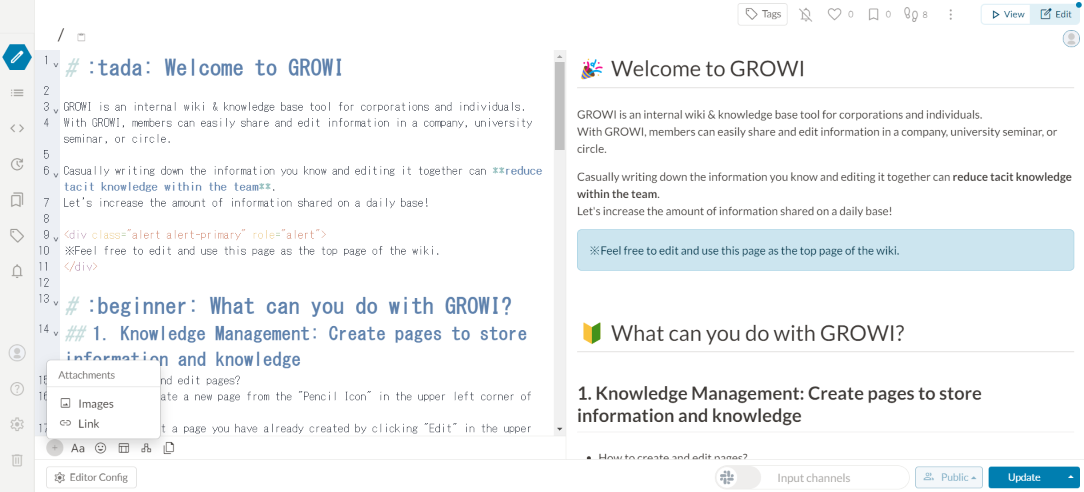
If the upload banner is hidden as follows, the File Uploading settings have not been configured.
# Email settings
Sending email from GROWI can be enabled by configuring one of the following configuration patterns:
- Setting up an SMTP server
- Using SES from AWS
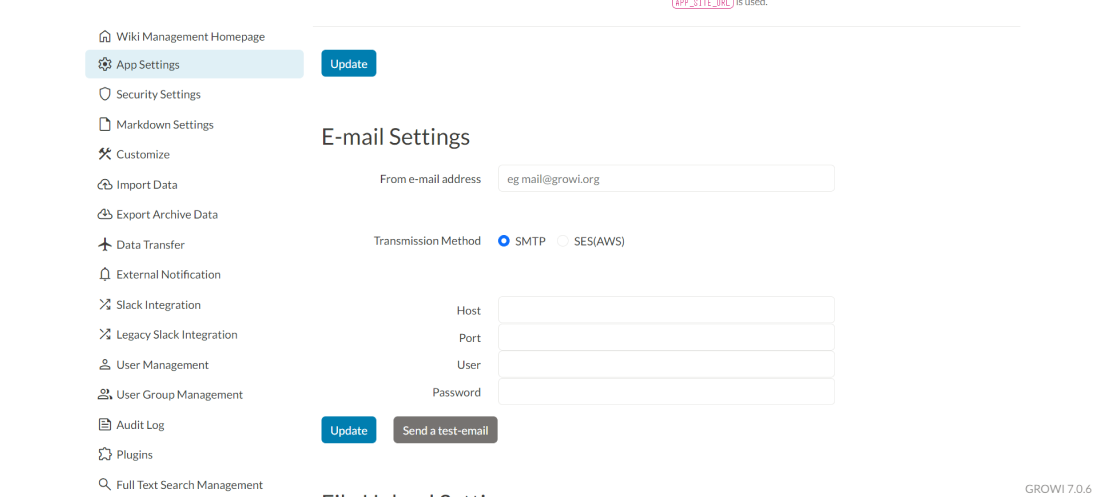
If there is an alert that says "Email setting is not set up", this indicates that the configuration form has not been fully completed.
# Notes on using SES
GROWI does not allow changing the Region and will attempt to send using us-east-1.
If region other than us-east-1 is used, consider setting up SMTP on GROWI using the information on SES.
# Sending a test mail (on SMTP only)
When using an SMTP server, it is possible to send a test email to verify that the email settings are working.
After updating the SMTP server settings, press the Send a test email button.
- If successful, the message "Success to send a test-email" will be displayed.
- If it fails, "Failed to send a test email using SMTP. Please check your settings." will be displayed.
If the email settings are enabled, the email will be sent from GROWI.
# Mail sending function
The following is the Temporarily issue a new user window in the User Management menu.
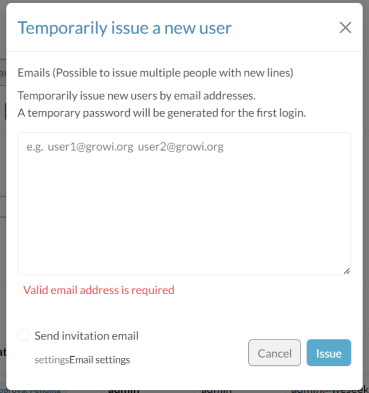
Check the Send invitation email checkbox to make the email work.
If the settings are not configured correctly, the email will not work.
# File Upload Settings
Make settings for uploaded attachments to the GROWI pages.
# Available file upload method
Please use the following upload systems to save attached files.
- Amazon S3
- Google Cloud Storage
- MongoDB
- Local File System
# Upload to Amazon S3
Save files to the bucket of Amazon S3.
Please refer to here to set up Amazon S3.
# Upload to Google Cloud Storage
Save files Bucket to Google Cloud Storage.
Please refer to here to set up Google Cloud Storage.
# Upload to Azure Blob Storage
Save files Container to Azure Blob Storage.
Please refer to here to set up Azure Blob Storage.
# Upload to MongoDB
Save files to MongoDB specified as the file upload system of GROWI data with GridFS (opens new window).
# Upload to File Systems
Save files to the local file system of the GROWI server.
# Change file upload method
The file upload method can be changed in the file upload settings of the application settings.
DANGER
Please note that by changing the file upload method in the middle, the uploaded files so far will not be able to access.
Settings are required when using Amazon S3 and Google Cloud Storage. Please refer to the following to complete it.
# Set up Amazon S3 Bucket
Here are the steps to set up a connection to Amazon S3 (Amazon Simple Storage Service).
# Get AWS credentials
When creating a new IAM User (recommended)
- Sign in to AWS Management Console (opens new window).
- Navigate to the IAM User page (opens new window).
- Create a user.
- User name: Any
- Provide user access to the AWS Management Console: Off
- Set permissions: Press "Next" without making any configurations.
- Select the user you created.
- Security Credentials -> Access keys -> Create access key
- Select JSON in the policy editor and add the following:
{
  "Version": "2012-10-17",
  "Statement": [
    {
      "Effect": "Allow",
      "Action": [
        "s3:PutObject",
        "s3:PutObjectAcl",
        "s3:GetObject"
      ],
      "Resource": [
        "arn:aws:s3:::*/*"
      ]
    }
  ]
}
TIP
It is more secure to replace the first * in the Resource with the name of S3 Bucket that you will create later.
example:"arn:aws:s3:::growi-attachment-bucket/*"
- Enter any name for the policy name and create the policy.
- User details -> Security credentials -> Access keys -> Create access key
- Select Other and create access key.
- Store the Access Key ID and Secret Access Key.
When use security credentials of logged-in user
- Sign in to AWS Management Console (opens new window) and select My Security Credentials (opens new window) from the dropdown that appears when clicking on the account name in the upper right corner of the navigation bar.
- Expand "Access Key (Access Key ID and Secret Access Key)", create and store the Access Key ID and Secret Access Key for the AWS account.
- Expand "Account ID" to comfirm the valid user ID.
# Get or change permitions of Amazon S3 Bucket
- Access to Amazon S3 Dashboard (opens new window).
- Check the region and the bucket name of the S3 Bucket to register.
- Select the S3 Bucket to register and open "Access Rights".
- Click the edit button of "Block Public Access". only uncheck "Block public access" through the New Access Control List (ACL) and save the changes.
- If the valid ID of the AWS account that has been added to the "Bucket Owner Permissions" and the "Access Control List" doesn't match step 3 of the procedure "Getting AWS Account Information", add the account with the verified canonical ID to "Access Other AWS Accounts". In this case, please check all types of authority.
WARNING
In the initial setup of GROWI, the Object ACL is set to public-read, which allows public access and poses a security risk. To ensure security for attachments, it is recommended to set the environment variable S3_OBJECT_ACL=private.
Reference: Environment Variables
# Register Bucket to GROWI
Please select AWS (S3) in the file upload settings of GROWI's app settings, and set the information confirmed in the above process.
In case of using other object storage services that have an S3-compatible API, such as MinIO, Please enter the URL of the endpoint into the custom endpoint.
# Set up Google Cloud Storage
Please refer to here (opens new window) for more GCS information.
Select GCS in the file upload settings of GROWI app settings and set the information confirmed in the above process.
- API Key Json Path: [The path to the JSON file for the GCP service account key (as seen from the GROWI root directory)]
- Bucket Name: [Bucket Name of GCS]
- Name Space: [Directory name for uploading files created in the bucket]
# Setting up Azure Blob Storage
You will need the following five pieces of information (a). Directory (tenant) ID (b). Application (client) ID (c). Client Secret (d). Storage account name (e). Container name
Follow the steps below to obtain the necessary settings as you go through the configuration process.
# Setup in Azure
go to "Microsoft Entra ID" from the top menu and register a new application (in this case GROWI) from the side menu Administration > Register Application
- get information
(a),(b)here
- get information
go to the detail screen of the registered application (GROWI), and from the side menu "Administration > Certificates and Secrets", "Add new client secret".
- get the information
(c)here. (Note that this will only appear immediately after creation)
- get the information
go to "Storage Accounts" from the top menu and create a storage account
- get information
(d)here
- get information
go to the detail screen of the created storage account and create a new container from the side menu Data Storage > Container
- get information
(e)here
- get information
go to the detail screen of the created storage account, from the side menu "Access Control (IAM)", "Add Role Assignment"
- select the role "Storage BLOB Data Co-Creator"
- In the Member Selection, select the application registered above.
- Perform "Review and Assign".
# Setup in GROWI
- select Azure(BLOB) in the file upload settings of GROWI's application settings and set the information confirmed in the above process.
# Questionnaire Settings
Enabling surveys allows you to receive and respond to surveys from the GROWI development team.
Administrators can enable/disable surveys from App Settings > Questionnaire Settings. Users can also enable/disable the survey feature individually from the settings screen.
The data sent will not contain any personal information of the user. The actual response data sent to the development team is in json format as shown below.
{
  "growiInfo": {
    "version": "6.1.0",
    "osInfo": {
      "type": "Linux",
      "platform": "linux",
      "arch": "x64",
      "totalmem": 8349097984
    },
    "appSiteUrl": "https://dev.growi.org",
    "appSiteUrlHashed": "f1de9e489ba88cb15968b97f40f59e8ef0da5ca03ad1f37fc13a2aa45a2512a9",
    "type": "cloud",
    "currentUsersCount": 1,
    "currentActiveUsersCount": 1,
    "wikiType": "open",
    "attachmentType": "gcs"
  },
  "userInfo": {
    "userIdHash": "491cc0533ef24a97cdab23ae634b5c4822586087383e9e3e59ddd464876cecbb",
    "type": "admin",
    "userCreatedAt": "2023-01-24T04:50:59.249Z"
  },
  "answers": [ { "question": "63d75bde2cc143ee8250106a", "value": "3" } ],
  "answeredAt": "2023-01-31T06:00:07.707Z"
}
# About the App Site URL
The default configuration includes the URL of the operational GROWI application and its hash value with the keys appSiteUrl and appSiteUrlHashed, respectively.
If you wish to keep the URL of your site confidential from the GROWI development team, please enable the option Send anonymized site URLs.
With this option, only the value of appSiteUrlHashed will be sent.